
Whether you’re saving a funny meme, capturing a software bug, or documenting a tutorial, knowing how to take a screenshot is an essential skill for any computer user. Fortunately, both Windows and macOS offer multiple ways to capture your screen — and this guide will walk you through the easiest methods step-by-step.
If you’re new to computers or just looking for a faster way to grab your screen, this quick guide is for you.
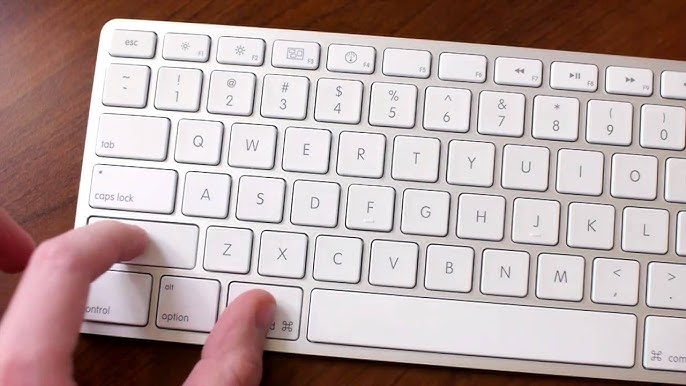
🖥️ How to Take a Screenshot on Windows
Windows offers several built-in tools and shortcuts to take screenshots. Here are the most popular and beginner-friendly methods:
1. Print Screen (PrtScn) Key
- Full Screen Capture: Press
PrtScnto copy the entire screen to your clipboard. - Paste into an App: Open Paint, Word, or any image editor and press
Ctrl + Vto paste the screenshot.
2. Alt + PrtScn
- Captures only the active window.
- Paste it into an app using
Ctrl + V.
3. Windows + Shift + S (Snip & Sketch)
- Opens a small overlay with options:
- Rectangular snip
- Freeform snip
- Window snip
- Fullscreen snip
- The screenshot is copied to your clipboard and can be saved via the Snip & Sketch app.
4. Windows + PrtScn
- Captures the entire screen and automatically saves it to:
Pictures > Screenshotsfolder
5. Snipping Tool
- Search for “Snipping Tool” in the Start menu.
- Choose the snip type and capture your screen.
- Save or annotate the image directly.
🍏 How to Take a Screenshot on Mac
macOS makes screenshotting intuitive with built-in shortcuts and a dedicated app.
1. Command + Shift + 3
- Captures the entire screen.
- Saved automatically to your desktop.
2. Command + Shift + 4
- Turns your cursor into a crosshair.
- Click and drag to select the area you want to capture.
- Release to save the screenshot to your desktop.
3. Command + Shift + 4 + Spacebar
- Captures a specific window.
- Hover over the window and click to capture.
4. Command + Shift + 5
- Opens the Screenshot Toolbar:
- Capture entire screen
- Capture selected window
- Capture selected portion
- Record screen (video)
- Includes options to choose save location and set a timer.
5. Touch Bar Screenshot (MacBook Pro only)
- Press
Command + Shift + 6to capture the Touch Bar.
🧰 Bonus Tips for Both Platforms
✏️ Editing Screenshots
- Windows: Use Paint, Snip & Sketch, or third-party apps like Greenshot or Lightshot.
- Mac: Use Preview or the built-in Markup tool to annotate, crop, or highlight.
📂 Changing Save Location
- Mac: Use the Screenshot Toolbar (
Command + Shift + 5) to change where screenshots are saved. - Windows: Manually move screenshots from the default folder or use third-party tools to customize.
☁️ Cloud Sync
- Screenshots can be synced to OneDrive (Windows) or iCloud (Mac) for easy access across devices.
🧑💻 Best Screenshot Tools for Beginners
If you want more control or advanced features, here are some beginner-friendly apps:
| Tool | Platform | Features |
|---|---|---|
| Snip & Sketch | Windows | Annotation, delay timer, sharing |
| Lightshot | Both | Easy editing, cloud upload |
| Greenshot | Windows | Region capture, hotkeys, export |
| CleanShot X | Mac | All-in-one capture and editing |
| Skitch | Mac | Annotate and share screenshots |